Text Fields
文本字段提供输入字段,允许用户输入数据。 以下是可在输入助手中使用的属性 -
| 'readonly' | 'required' | 'autofocus' |
| 'value' | 'placeholder' | 'disabled' |
| 'size' | 'tabindex' | 'maxlength' |
| 'name' | 'min' | 'max' |
| 'pattern' | 'accept' | 'autocomplete' |
| 'autosave' | 'formaction' | 'formenctype' |
| 'formmethod' | 'formnovalidate' | 'formtarget' |
| 'height' | 'inputmode' | 'multiple' |
| 'step' | 'width' | 'form' |
| 'selectionDirection' | 'spellcheck' | 'type' |
语法 (Syntax)
{{input type = "type-of-input" value = "name-of-input-element"}}
例子 (Example)
下面给出的示例指定输入助手中文本字段的用法。 创建一个名称为textfield的路由,并打开router.js文件以定义URL映射 -
import Ember from 'ember';
import config from './config/environment';
const Router = Ember.Router.extend ({
   location: config.locationType,
   rootURL: config.rootURL
});
Router.map(function() {
   this.route('textfield');
});
export default Router;
使用以下代码打开在app/templates/下创建的application.hbs文件 -
<h2>Input Helper Text Field</h2>
{{#link-to 'textfield'}}Click Here{{/link-to}}
{{outlet}}
单击链接时,页面应打开textfield.hbs文件,其中包含以下代码 -
Enter Name : {{input type = "text" placeholder = "Enter the name" value = name}}
<button {{action "send"}}>Send</button>
{{outlet}}
使用以下代码打开在app/routes/下创建的textfield.js文件 -
import Ember from 'ember';
export default Ember.Route.extend ({
   model: function () {
      //initializing the variable 'name' as null by using create method
      return Ember.Object.create ({
         name: null
      });
   }
});
现在打开在app/controllers/下创建的textfield.js文件,代码如下 -
import Ember from 'ember';
export default Ember.Controller.extend ({
   actions: {
      //this actions get the name from the text field
      send: function () {
         document.write('Name is: ' + this.get('name'));
      }
   }
});
输出 (Output)
运行ember服务器; 你会收到以下输出 -
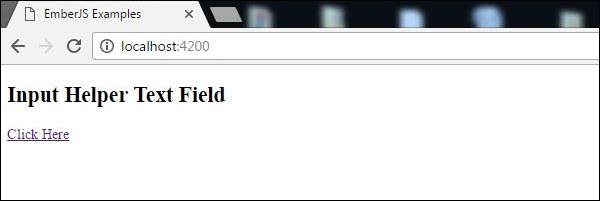
当您单击链接时,将显示一个输入字段,允许用户输入数据 -
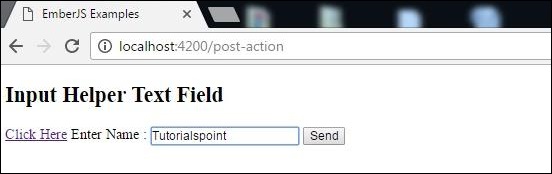
现在点击发送按钮,它将显示结果,如下面的屏幕截图所示 -

