Aurelia - Forms
在本章中,您将学习如何在Aurelia框架中使用表单。
文字输入
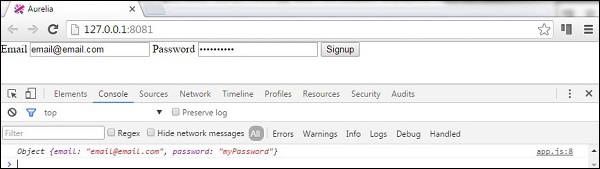
首先,我们将看到如何提交input表单。 该视图将有两个用户名和密码输入表单。 我们将使用value.bind进行数据绑定。
app.html
<template>
   <form role = "form" submit.delegate = "signup()">
      <label for = "email">Email</label>
      <input type = "text" value.bind = "email" placeholder = "Email">
      <label for = "password">Password</label>
      <input type = "password" value.bind = "password" placeholder = "Password">
      <button type = "submit">Signup</button>
   </form>
</template>
注册函数将从输入中获取用户名和密码值,并将其记录在开发人员的控制台中。
export class App {
   email = '';
   password = '';
   signup() {
      var myUser = { email: this.email, password: this.password }
      console.log(myUser);
   };
}
复选框 (Checkbox)
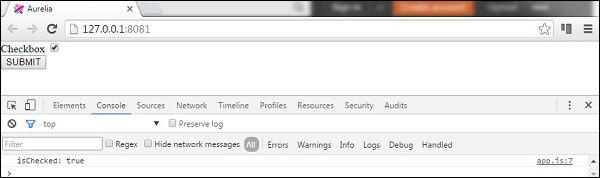
以下示例将演示如何使用Aurelia框架提交复选框。 我们将创建一个复选框并将checked值绑定到我们的视图模型。
app.html
<template>
   <form role = "form" submit.delegate = "submit()">
      <label for = "checkbox">Checkbox</label>
      <input type = "checkbox" id = "checkbox" checked.bind = "isChecked"><br/>
      <button type = "submit">SUBMIT</button>
   </form>
</template>
表单提交只会在控制台中记录checked值。
app.js
export class App  {
   constructor() {
      this.isChecked = false;
   }
   submit() {
      console.log("isChecked: " + this.isChecked);
   }
}
单选按钮
以下示例将演示如何提交radio buttons 。 语法repeat.for = "option of options"将通过一个对象数组重复,并为每个对象创建一个单选按钮。 这是在Aurelia框架中动态创建元素的简洁方法。 休息与前面的例子相同。 我们绑定model和checked值。
app.html
<template>
   <form role = "form" submit.delegate = "submit()">
      <label repeat.for = "option of options">
         <input type = "radio" name = "myOptions"
            model.bind = "option" checked.bind = "$parent.selectedOption"/>
            ${option.text}
      </label>
      <br/>
      <button type = "submit">SUBMIT</button>
   </form>
</template>
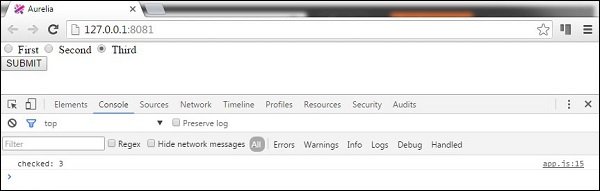
在我们的视图模型中,我们将创建一个对象数组this.options并指定第一个单选按钮被选中。 同样, SUBMIT按钮将只登录控制台,选中单选按钮。
app.js
export class PeriodPanel {
   options = [];
   selectedOption = {};
   constructor() {
      this.options = [
         {id:1, text:'First'},
         {id:2, text:'Second'},
         {id:3, text:'Third'}
      ];
      this.selectedOption = this.options[0];
   }
   submit() {
      console.log('checked: ' + this.selectedOption.id);
   }
}
如果我们检查第三个单选按钮并提交表单,控制台将显示它。